Beauty DIY
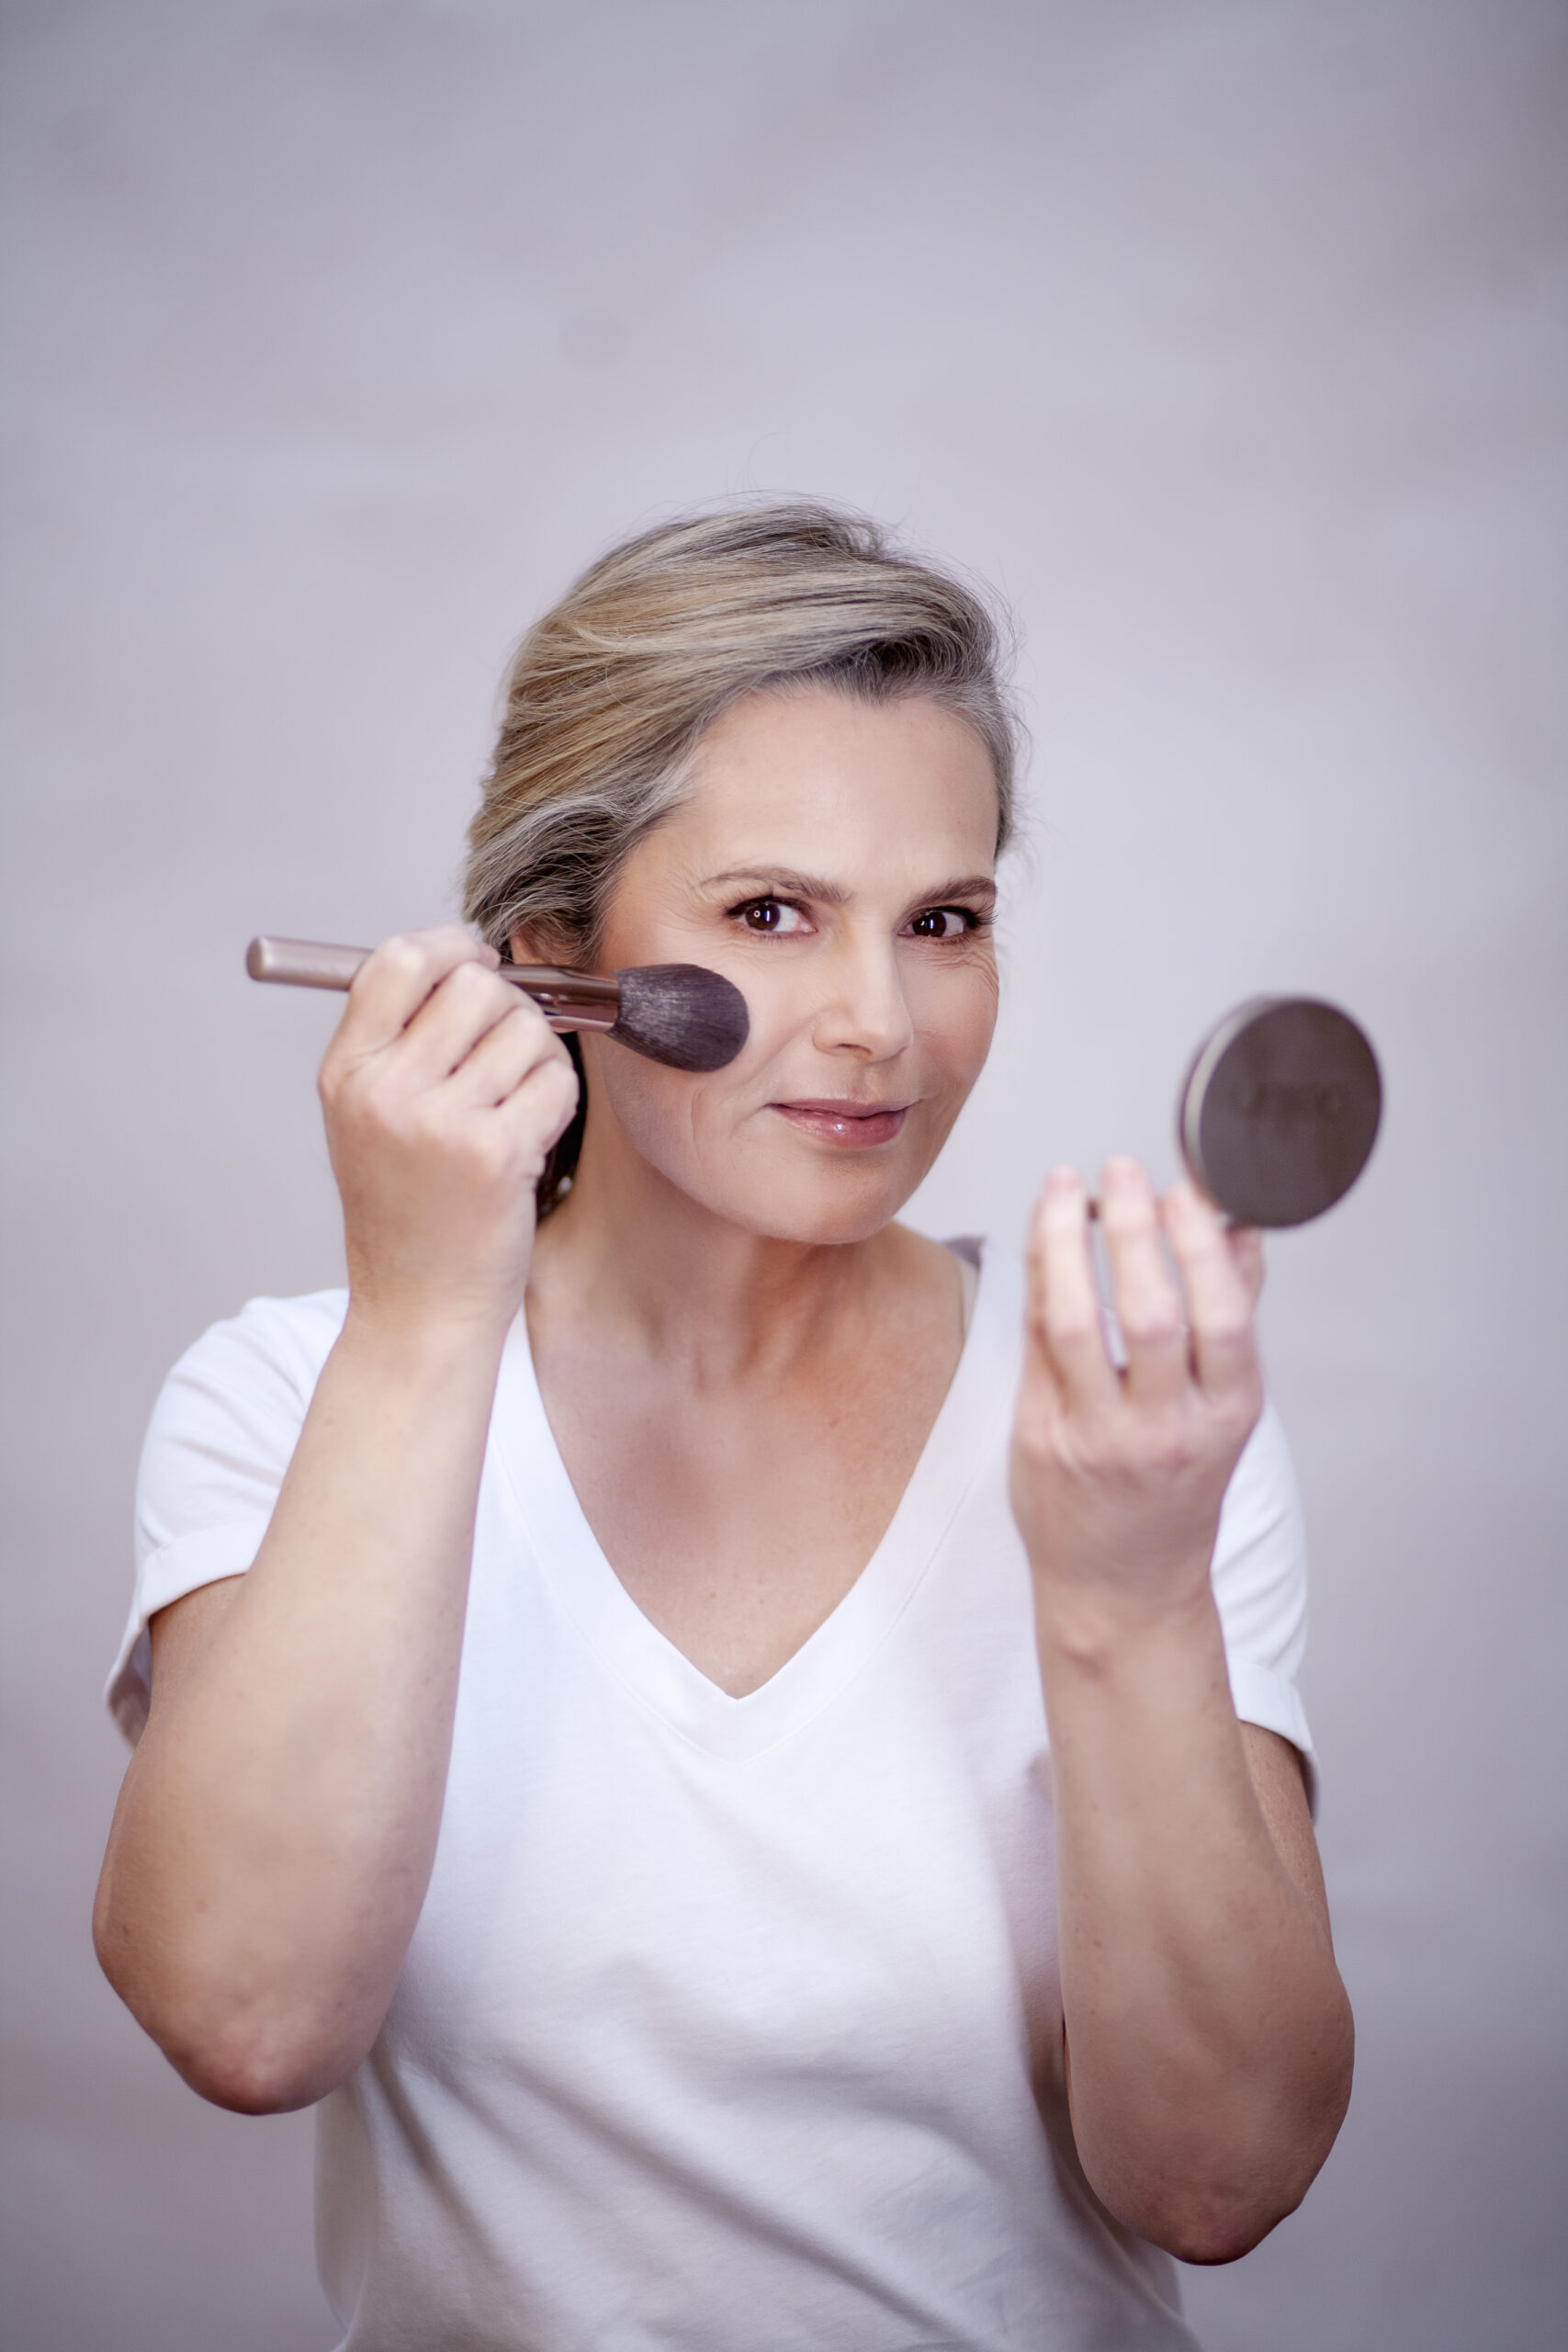
DIY facial skin routine for mature skin
Finding the perfect routine for mature skin can often seem challenging. Mature skin really benefits from being cleansed and moisturised with oils, especially those that are rich in vitamins, A, B1, B2 and D. With this in mind, coconut oil, jojoba oil, olive oil, cocoa butter and avocado oil are all ideal to use in a routine for mature skin.
- Avocado oil is rich in lecithin which promotes skin cell regeneration and can restore elasticity.
- Jojoba oil is unbelievably close to the molecular structure of the sebum of the skin and therefore is a beautiful carrier and component for cleansers and moisturisers.
- Cocoa butter is high in EFAs (essential fatty acids), therefore it is great for hydration and will also nourish and protect. It is great to smooth and smooth wrinkles and scars.
- Coconut oil is wonderful for reducing inflammation, it can help reduce damage caused through free radicals and also prevent infection. It will melt away impurities and is a great base for a facial cleanser.
- Shea Butter is anti-inflammatory and fantastic for the skin as it has a high concentration of EFA’s and vitamins which will nourish and soften.
Once you’ve found your perfect plant oils, it’s easy to make your own products at home. You probably have the majority of the ingredients in your kitchen cupboard too! Read on to discover the easy three-step regime you can do at home to treat mature skin, with a list of ingredients for making your own cleanser, exfoliator and moisturiser.
How to make a facial cleanser for mature skin
Ingredients
- 3 Tbsp organic extra virgin coconut oil
- 1 tsp raw honey
- 1 tsp sodium bicarbonate
- 1 small glass container (recycle a marmalade or jam jar – sterilise before use)
Method to make
- Take 3 tbsp of room temperature coconut oil into a mixing bowl and stir gently with a spoon. Using a slightly warmed tablespoon may help to soften to get the right consistency. It should be creamy rather than a liquid.
- Slowly add the teaspoon of raw honey and stir in well.
- Add the teaspoon of sodium bicarbonate and make sure that it is really stirred in well and distributed throughout.
- Spoon into your glass container and keep at room temperature (out of direct sunlight). If it hardens don’t worry it will gently melt when you apply to the skin.
Method to treat
- Use the handle end of a teaspoon and take a pea size amount.
- Apply to the fingers and gently warm then apply to face and neck and move fingers in upward circles around face to exfoliate.
- Leave on the face for at least one minute which will draw out any impurities and toxins.
- Remove with a warm damp flannel (ideally muslin) which you have rinsed under the tap.
- You should see a lovely glow on the face and maybe a light oil residue. This will absorb quickly but you can pat with a clean dry towel. You may not need a moisturizer at all after this, but if you do, then just a super tiny amount of plain coconut oil works well.
- Use once or twice a day maximum. The sodium bicarbonate will gently exfoliate
How to make an exfoliator for mature skin
Exfoliate a maximum of once a week. The bicarbonate of soda in your homemade cleanser will already provide a gentle exfoliation.
Method to Make
- Take two teaspoonfuls of your moisturiser and place into a cup.
- Add half the contents of a chamomile teabag (dry).
- Stir together until soft.
Method to Treat
- Apply in upward movements over the décolletage, neck and face using a light and gentle touch.
- Remove with a warm damp cloth and then pat dry with a clean dry towel.
- Apply your moisturiser.
How to make a moisturiser for mature skin
Ingredients
- 4 oz (2 large tablespoons) shea butter
- 2 Tablespoons of jojoba or avocado oil
- 5 drops of one or two of the following essential oils: rose, rosemary, lavender, rose geranium
Method to make
Blend the oils together in a bowl and gently drop in some of your favourite essential oil. The essential oils will lift your mood as well as replenish the skin.
Method to treat
Warm a couple of drops of your blend between the fingers and apply to the face, neck (including the back of the neck) and décolletage in smooth upwards movements.
A face oil can also add an additional treat for skin. This can be used to replace the olive oil in any of the recipes. Alternatively, use the oil as an added hydration step before moisturising the skin.